Home baking can also produce master works! These Western-style pastries allow you to open a dessert shop at home!
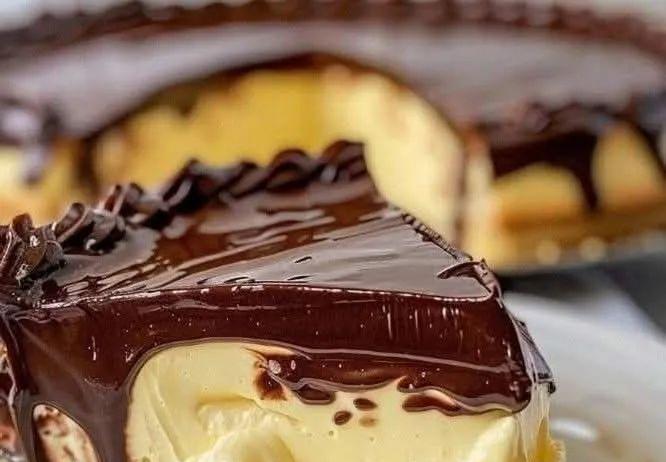
Chocolate cream cake ? ?
Ingredients
Bottom material
200 g of digestive cookies or maria cookies.
100 g melted butter
cream
500 ml of milk
200 ml whipped cream
3 egg yolks
100 g sugar
1 tsp vanilla extract
3 tablespoons cornstarch (cornstarch)
Making a chocolate glaze
150 g dark or semi-bitter chocolate
100 ml whipped cream
1 tablespoon butter
Production instructions
Step 1: Prepare the base material
Crush the cookies: Place the cookies in a plastic bag and crush them with a rolling pin, or grind them into a fine powder with a food processor.
Mix with butter: In a bowl, combine the crushed cookies with the melted butter until you get a moist dough.
To make the base: Pour the mixture into the bottom of a springform pan with a diameter of about 20-23 cm. Press firmly to make the bottom compact and even.
Refrigerate: While preparing the cream, place the base molds in the fridge and chill for about 30 minutes.
Step 2: Prepare the cream
Heat the liquid: In a large pot, heat the milk and cream over medium heat until they begin to boil.
Whisk the yolks with sugar: In a separate bowl, whisk the yolks with the sugar until the mixture is smooth and creamy.
Mix with cornstarch: Dissolve cornstarch in a little cold milk, add to the egg yolk mixture and mix well.
Cooking mixture: Slowly pour the egg yolk-cornstarch mixture into the warm milk, stirring constantly to prevent lumps. Cook over medium-medium heat until mixture thickens (may take 5-7 minutes).
Add vanilla extract: Once thick, remove from heat and add vanilla extract. Allow the cream to cool to room temperature, stirring occasionally to prevent a thick layer from forming on top.
Step 3: Prepare the chocolate glaze
Melt the chocolate: In a bowl, heat the cream in the microwave or in a small saucepan until hot and not boiling. Add the chopped chocolate and let sit for a few minutes to melt. Mix until smooth.
Add the butter: Add the butter to the melted chocolate and stir well until smooth and flat.
Step 4: Assemble the cake
Pour the cream over the base: Once the cream has completely cooled, pour the mixture over the cooled cookie base.
Cover the frosting: Pour the chocolate frosting over the buttercream and spread with a spatula so that it covers the entire cake surface.
Refrigerate: Chill the cake in the refrigerator for at least 4 hours, preferably overnight, to get it to the best consistency.
Step 5: Serve and enjoy
Demoulding: After the cake has cooled sufficiently, unmold carefully.
Extra garnish: Garnish the top with chocolate shavings or cocoa shavings if you wish.
Preparation time: 30 minutes
Cooking time: 20-25 minutes
Cooldown: 4 hours
Total time: Approximately 5 hours
Serving Size: 8-10 servings
For 8-10 people
Other Tips
Bottom Alternatives: If you prefer a crispier base, bake the cookie base at 180 °C (350 ° F) for 10 minutes before refrigerating.
Chocolate: If a sweeter flavor is preferred, use milk or white chocolate instead of dark chocolate.
Garnish: Add fresh fruit like strawberries or raspberries to give the cake a sharp contrast between the sweetness and the tartness.
This chocolate cream cake is perfect for any special occasion-it's delicious, delicate and elegant! ? ?


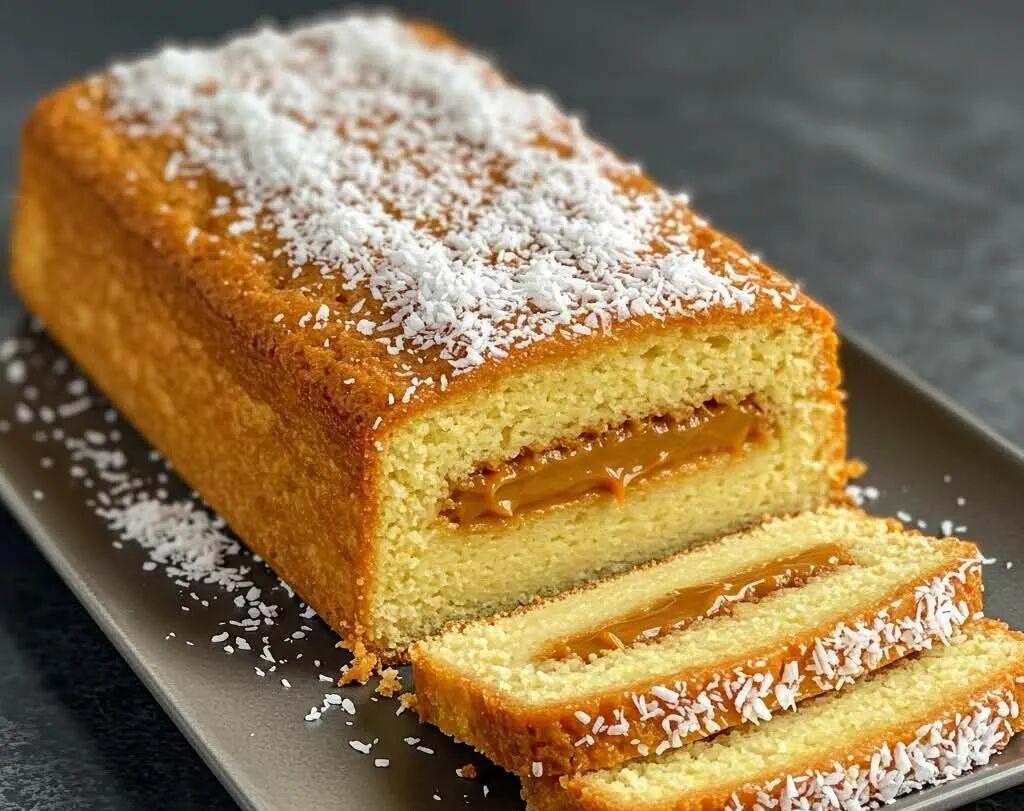
Coconut cake with coconut filling ? ?
This is a fluffy and delicious cake with the tropical flavor of coconut and the sweet taste of jam, ideal for tasting coffee or dessert!
Ingredients
Cake
3 eggs ?
200 g sugar ?
1 cup wheat flour ?
1 tsp baking powder ?
1/2 tsp vanilla extract ?
1/2 cup milk ?
1/4 cup vegetable oil ?
100 g grated coconut ?
1 pinch of salt ?
Stuffing
300 g jam ?
For decoration
2 tbsp extra coconut paste ?
Description
Step 1: Prepare the cake:
Preheat oven to 180 °C (350 ° F). Grease and lightly flour a rectangular cake tin or loaf tin about 22 x 12 cm.
Combine the dry ingredients: In a large bowl, sift in the flour, baking powder, salt, and coconut.
Whisk the wet ingredients: In a separate bowl, whisk together the eggs with the sugar until the mixture is fluffy and lighter in color. Add milk, oil and vanilla extract. Stir until well incorporated.
Mix all ingredients: Add the dry ingredients little by little to the wet ingredients and mix with a spatula or whisk on low speed. Mix until well blended.
To bake: Pour the mixture into an oiled baking dish. Bake for 30-35 minutes until smell free when inserted through the middle with a toothpick.
Step 2: Prepare the filling:
Heat the jam: While baking the cake, place the jam in a small pan over low heat, stirring constantly to prevent burning.
Step 3: Assemble the cake:
Cool the cake: Once baked, allow the cake to cool in the tin for 10 minutes, then remove and place on a grid rack to cool completely.
Dicing and filling: Once cool, cut the cake in half lengthwise. Fill the bottom with the heated jam, then cover with the other half of the cake.
Step 4: Decoration:
Add shredded coconut: Sprinkle the top of the cake with shredded coconut as a garnish.
Step 5: Serve:
Serve and enjoy: Let sit for a few minutes to set the jam and enjoy!
Preparation: 15 minutes
Bake: 30-35 minutes
Total time: approximately 1 hour
Serving Size: 8-10 servings
For 8-10 people
Tips
Homemade condensed milk: Make homemade condensed milk at home using boiled condensed milk if you prefer.
Coconut Variety: For a more intense taste, add a little coconut milk to the cake mixture.
Freeze: This cake is perfect for freezing in the freezer and serving as a cold cake.
This intense coconut milk cake is fluffy and delicate and so easy to make! Ideal for any celebration or enjoying a delicious dessert with the family. ? ?

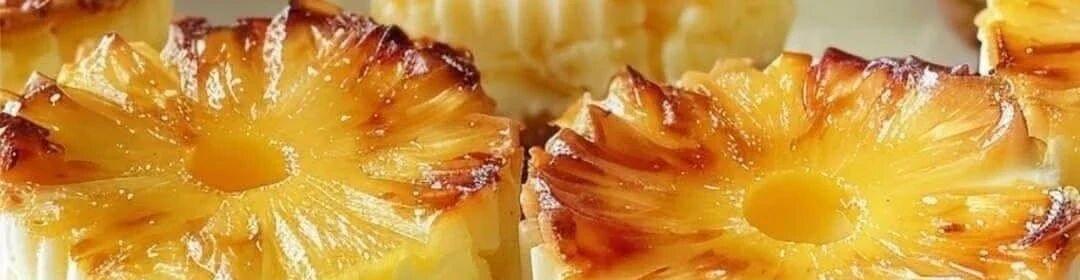
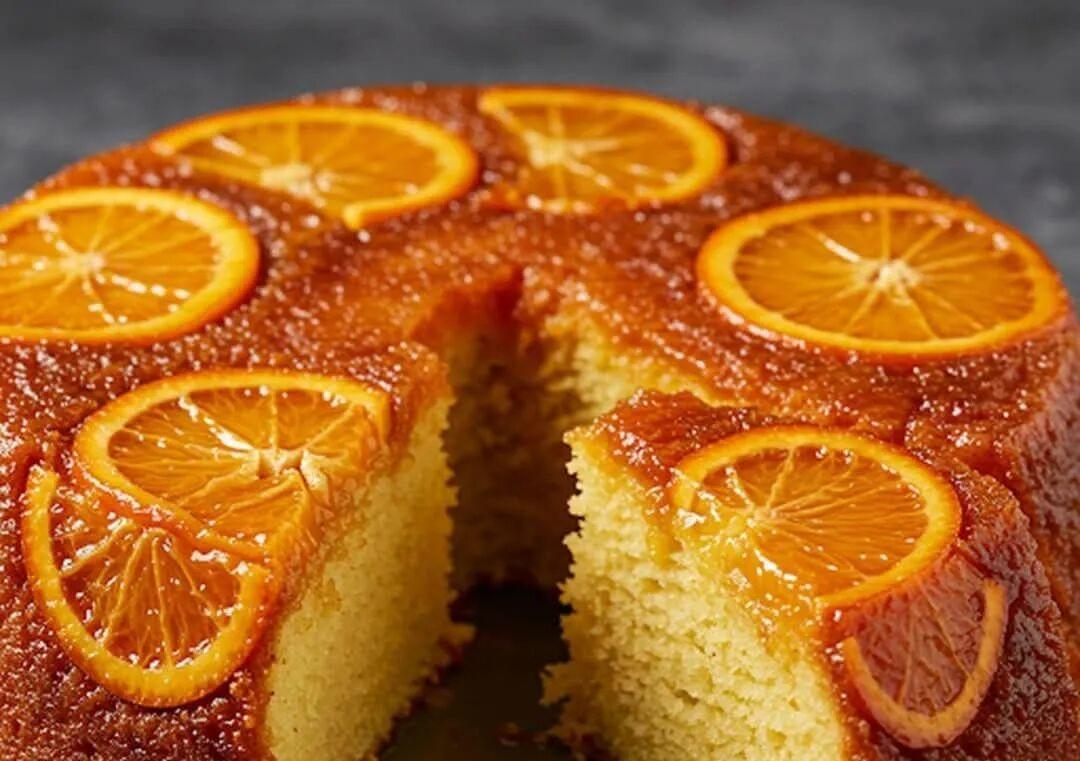
Orange Inverted Cake ? ?
Ingredients
Orange juice
1 cup brown sugar
1/4 cup butter
1 tsp lemon juice
Making a cake
1 ½ cup medium-gluten flour
1 ½ tsp baking powder
1/2 tsp salt
1/2 cup butter (room temperature)
1 cup white sugar
2 large eggs
1 tsp vanilla extract
1/2 cup orange juice (fresh)
Peel of 1 orange
1/4 cup milk
Preparation
Step 1: Prepare the orange juice.
In a saucepan over medium heat, melt the butter and add the brown sugar. Stir constantly as you cook until it is completely dissolved and forms a smooth glaze.
Add lemon juice and mix well. Pour the mixture into the bottom of an oiled cake tin (preferably a 22 cm round cake tin).
Arrange orange slices decoratively on top of the frosting. Make sure the oranges completely cover the bottom of the cake tin.
Step 2: Prepare the cake batter
Preheat oven to 180 °C (350 ° F).
In a large bowl, sift in flour, baking powder, and salt.
In a separate bowl, combine the butter with the white granulated sugar until the mixture is smooth and creamy.
Add eggs one by one, beating well after each addition. Stir in vanilla extract, orange juice and orange zest.
Add the dry ingredient mixture and milk alternately, starting with the dry ingredients and adding the milk at the end. Mix until all ingredients are well combined, but do not over mix.
Pour the batter over the orange slices in the pan and use a spatula to smooth the surface.
Step 3: Bake
Bake the cake for 35 to 40 minutes until smell-free when inserted through the middle with a toothpick.
Allow the cake to cool in the tin for about 10 minutes, then carefully flip the cake onto the plate so that the oranges sit on top.
Step 4: Serve
Serve the cake warm or at room temperature. Also serve with whipped cream or vanilla ice cream if preferred.
Preparation time
20 minutes prep time
Baking Time: 35-40 minutes
Total time: approximately 1 hour
Serving Size: Approximately 8
Approximately 8 people
Other Tips
Orange varieties: If navel oranges cannot be found, other sweet orange varieties can also be used.
EXTRA DECORATION: If you want extra decoration, sprinkle rock sugar on the surface of the cake when serving.
Moist cake: If you prefer a moist cake, make orange syrup and pour on top of the cake after demolding.
This orange inverted cake is a delicious way to enjoy the citrus flavor and fluffy cake! ? ?
[Warm Tips]
When making Western-style pastries, commonly used cups and tablespoon/teaspoon are standard units of capacity, which are mainly used to measure the volume of ingredients, rather than directly expressing weight. To convert these capacities into grams (g), it needs to be calculated based on the density of the specific ingredient, because the weight of different ingredients varies greatly.
Here are the approximate weights of some common ingredients for reference:
Cup Weight Conversion
1 cup = about 240 milliliters (mL), but the grams depend on the ingredients:
all-purpose flour: 1 cup ≈ 120-130 g (depending on the degree of compaction)
granulated sugar: 1 cup ≈ 200 g
brown sugar: 1 cup ≈ 220 g (lightly pressed)
butter: 1 cup ≈ 227 g
milk: 1 cup ≈ 240 g
water: 1 cup ≈ 240 g
Spoon weight conversion
1 tablespoon (tablespoon, tbsp) = 15 ml
Flour: 1 tablespoon ≈ 8-10 g
White sugar: 1 tablespoon ≈ 12.5 g
Cream: 1 tablespoon ≈ 14 g
Water: 1 tablespoon ≈ 15 g
1 teaspoon (teaspoon, tsp) = 5 ml
Flour: 1 teaspoon ≈ 3-4 g
White sugar: 1 teaspoon ≈ 4 g
Salt: 1 teaspoon ≈ 6 g
vanilla extract: 1 teaspoon ≈ 5 g
Notes
Status of ingredients: For example, whether the flour is sifted and whether the sugar is compacted will affect the weight.
Precise measurement: If the recipe calls for precision, it is recommended to use an electronic scale to weigh directly, rather than relying entirely on cups or spoons.
Regional differences: This refers to the standard cup (240 mL) commonly used in the United States, other regions (such as Australia, 1 cup = 250 mL) may vary slightly.
END